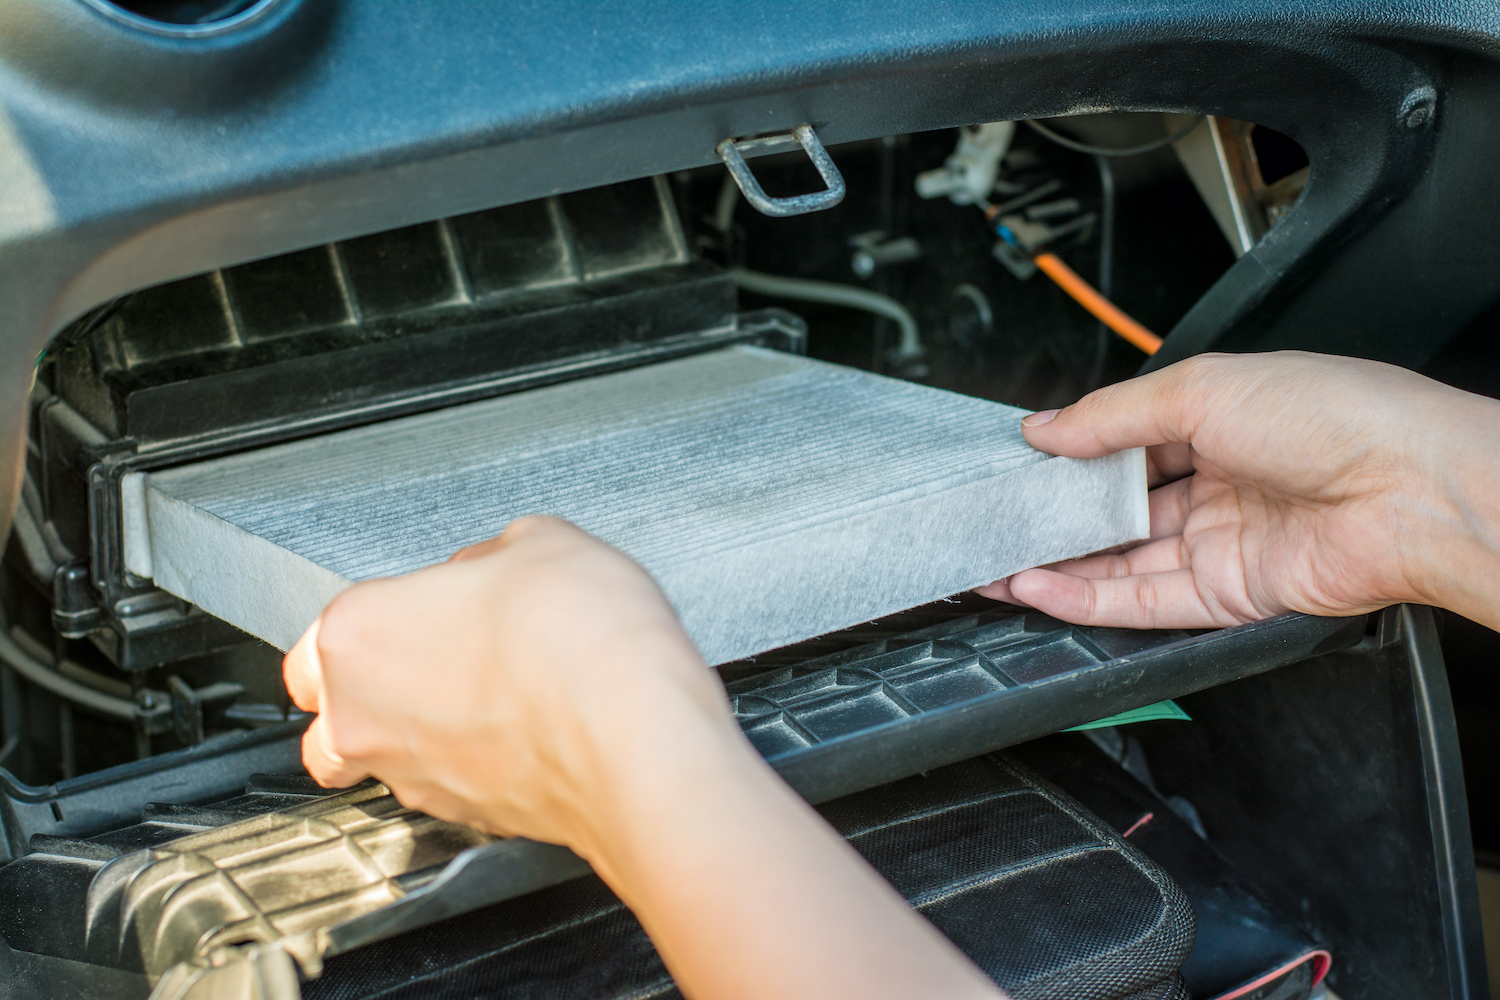
How to Replace a Cabin Air Filter
Russ is going to show you how to replace a cabin air filter using a 2021 GMC Terrain.
What You'll Need
- New Cabin Air Filter (In Video: 13508023)
- 5 1/2 mm socket with a 10-12 inch extension with a 1/4 inch drive and ratchet
Pro Tip: Cut the filter box to same size as the filter to be used later
1. Remove the Glove Box
Open the glove box on the passenger side and remove any loose items and set it on the seat.
Remove the glove box door damper from the pin that is sticking out from the side. Taking two fingers and pulling away from the glove box. Warning, a little force will be required.
To remove the thin layer plastic on the back of the glove box, locate the tabs on each side. To disengage, pull in and lift up and the tab should pop up.
To release the tabs on each side of the glove box, pull in on the left side to release, then push in on the right side to release.
Next, you are going to pull the glove box down and out., and the glove box is now removed.
2. Open Filter Door
Once the glove box has been removed, you will see a port titled "Filter Access Door", remove the screws completely from the door and set them aside in a place that you will not lose them.
Depress tabs on each side to open the filter access door, opening upwards. Be careful as the plastic can be broken and cracked.
3. Removing the Air Filter
Take the cardboard that we cut from the filter box and gently slide it under the filter to prevent any debris from falling into the blower motor housing.
Reach in and pull the old filter out leaving the cardboard still in there.
4. Installing the New Air Filter
Find the side with the symbols and words and have that facing outwards with the arrows pointing down. Push the door back open and slide it in. Once it is all the wa in the back of the housing you can remove the cardboard.
If there is any resistance pull the filter out to make sure nothing is blocking and that you are putting the filter in straight.
5. Close Everything Back Up
Now that the filter has been put in, you start putting everything back together.
Close the Filter Access Door and clip the side tabs into place. Place screws back into the housing once the tabs are engaged.
Now with the bottom of the glove box facing up, engage the hinges into the slots on the bottom, pushing the glove box back into the instrument panel. Hold the damper out of the way and listen for the clicks on the top of the glove box as you reengage those tabs.
Finally reengage that pin with the damper on the side of the glove box using two fingers.


